
Tutorial · 6 min read
How to Set the Time on a Casio Calculator Watch
Setting the time on a Casio calculator watch uses the same handful of buttons as everything else, which is precisely why it is confusing: the buttons do not have fixed jobs,…
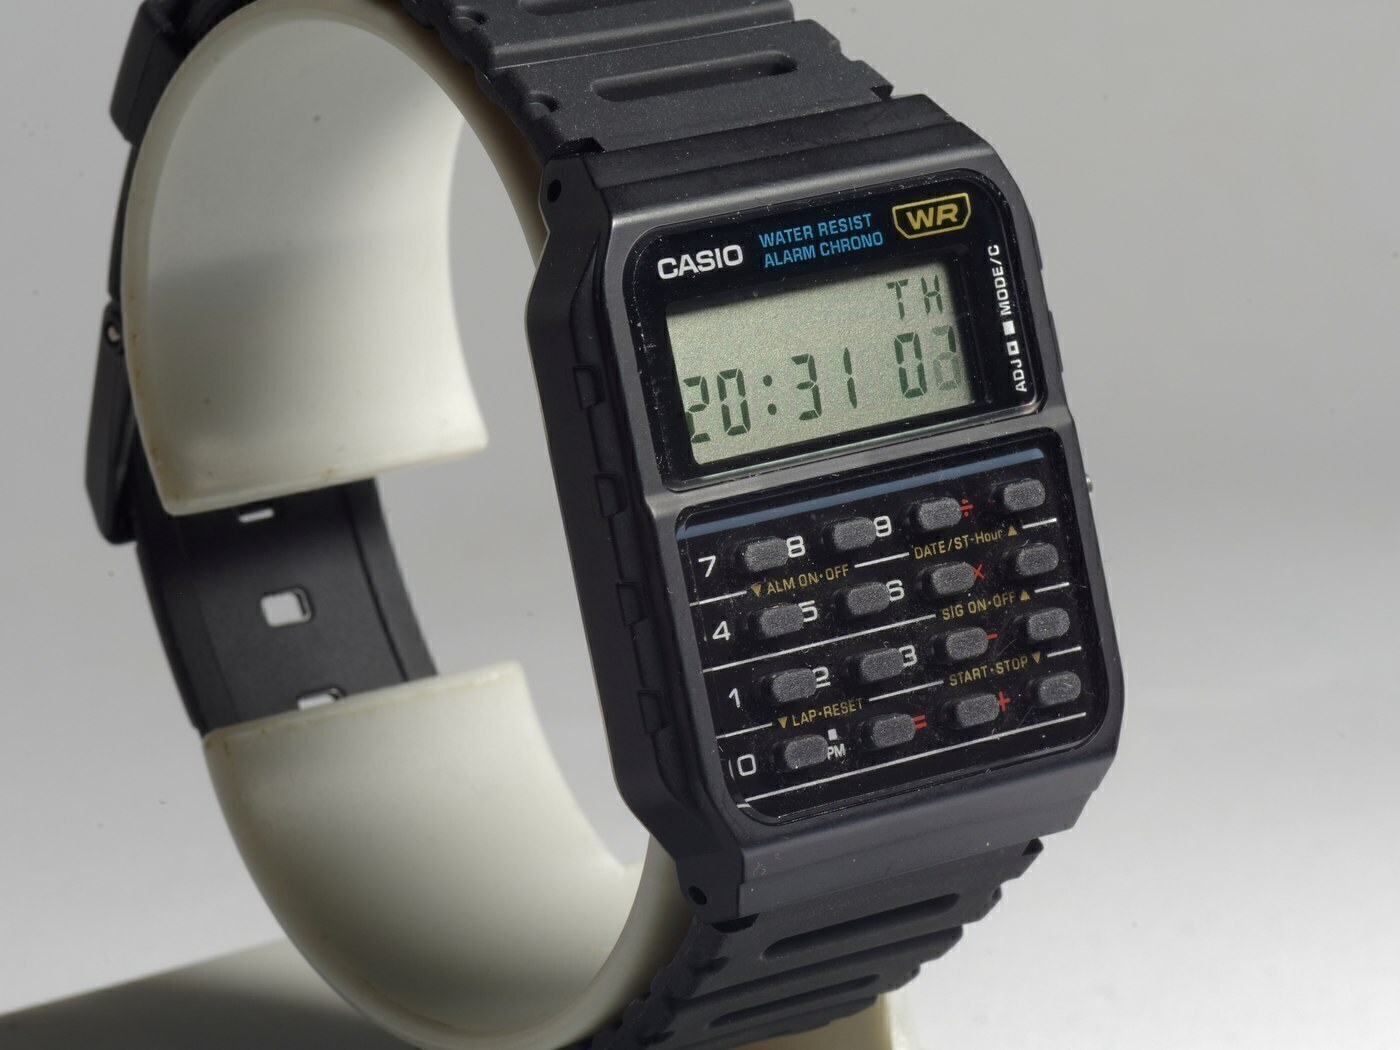
Setting the time on a Casio calculator watch uses the same handful of buttons as everything else, which is precisely why it is confusing: the buttons do not have fixed jobs, and the sequence depends on the module in your watch.
This guide explains the general method that Casio's calculator modules follow and the principle behind each step, so that you can apply it to whichever reference you own. For the exact button-by-button sequence for your module, use the manual for its module number — that is the only place the definitive sequence is stated.
The four buttons involved
Almost every Casio digital module of this generation uses four case buttons for setting, and they map onto functions you already know from the keypad:
- Mode — cycles between timekeeping, calculator, stopwatch and alarm modes.
- Adjust / Set — enters setting mode, and advances to the next field while in it.
- Light / Reset — usually used to decrease a value or to reset the seconds to zero.
- Search / Start — usually used to increase a value.
On a calculator watch the same functions are also available through the keypad in some modes, which is why “press 2 to increase” occasionally appears in instructions: 2 is the key that carries the increase function on some modules.
The general sequence
- Press Mode until you are in timekeeping — the normal time display.
- Hold Adjust until the seconds start flashing. On most modules a two- or three-second hold is enough; a single press usually does nothing.
- The seconds flash first. Pressing Light/Reset at this point resets the seconds to zero, which is the standard way to synchronise to a reference clock.
- Press Adjust to move to the next field: hour, then minutes, then year, month and date, depending on the module.
- Change the flashing value with the increase and decrease buttons. Holding one of them usually scrolls.
- Press Mode when you are finished to leave setting mode. If you do not, the watch will normally exit on its own after a period of inactivity.
Setting the 12- or 24-hour format
This is a separate setting on most modules and is often reached by holding a button rather than by pressing through the menu. On the CA-family modules the format is toggled while the hour field is flashing, using the button that also handles the 12/24-hour switch. If the hour advances past 12 and shows PM, you are in 12-hour mode; if it continues to 13, you are in 24-hour mode.
Setting the date correctly matters more than you think
These watches have a full auto-calendar that runs to 2099, which means the watch knows the number of days in each month and the leap-year cycle — but only once it knows the year. If the year is wrong, the day-of-week display will be wrong, and correcting it requires setting the year properly rather than adjusting the date forward. When you set the time, set the year.
Setting the alarm and hourly signal
The alarm and hourly time signal are set in their own modes, reached with the Mode button. On the CA-53W the keypad labels make this visible: the keys carry secondary legends such as ALM ON-OFF and SIG ON-OFF, which tell you what that key does while the alarm mode is selected. Set the alarm time with the increase and decrease buttons and toggle it on with the labelled key. A small bell or alarm indicator appears on the display when an alarm is armed.
If the display will not stop flashing
The watch is stuck in setting mode, and pressing Mode once should release it. If it does not, the module may have been reset by a battery change and needs a full cycle through the modes. Remove the watch from your wrist first — some modules use a wake or tilt sensor that interferes with setting.
After a battery change
A new cell clears everything, so the time, date, year and any alarms all need setting from scratch. Our battery replacement guide explains what else to check afterwards, including the case-back seal.
Frequently asked questions
How do I set the time on a Casio CA-53W?
Switch to timekeeping mode, hold the adjust button until the seconds flash, use the increase and decrease buttons to change each value, and press adjust to move between fields. Press mode to finish. The exact buttons for your module are stated in Casio’s manual for its four-digit module number.
Why is my calculator watch showing the wrong day of the week?
Usually because the year is set incorrectly. The auto-calendar needs the correct year to work out the weekday, so adjusting the date forward does not fix it — you have to set the year properly.
How do I change a Casio calculator watch to 24-hour time?
The 12/24-hour format is toggled while the hour field is flashing in setting mode, on most modules. If the hour advances past 12 rather than showing PM, you are already in 24-hour format.
Models referenced in this guide
Every specification on these pages is sourced from manufacturer documentation.
Casio CA-53W
CA-53W-1
The template calculator watch: a resin-cased 8-digit calculator with a full keypad, five-year battery and the lightest case of any model in this guide.
- Case
- 43.2 × 34.4 × 8.2 mm
- Weight
- 25 g
- Battery
- CR2016
- Water resistance
- Water Resistant (no depth rating published by Casio; not for swimming)
This article is editorial. Where a figure is given, it comes from the manufacturer’s published documentation and is dated on the page; where we are expressing a judgement, we say so. Something wrong? Tell us.